Search Users Guide
- 14.1. Changing IP addresses in Firewall Configuration Created from a Template
- 14.2. Examples of Access Policy Rules
- 14.2.1. Firewall Object used in Eexamples
- 14.2.2. Permit Internal LAN to Connect to the Internet
- 14.2.3. Allowing Specific Protocols Through, while Blocking Everything Else
- 14.2.4. Letting Certain Protocols through from a Specific Source.
- 14.2.5. Interchangeable and non-interchangeable objects
- 14.2.6. Anti-spoofing rules
- 14.2.7. Anti-Spoofing Rules for a Firewall with a Dynamic Address
- 14.2.8. Using Groups
- 14.2.9. Using an Address Range Instead of a Group
- 14.2.10. Controlling Access to the Firewall
- 14.2.11. Controlling access to different ports on the server
- 14.2.12. Firewall talking to itself
- 14.2.13. Blocking unwanted types of packets
- 14.2.14. Using Action 'Reject': blocking Ident protocol
- 14.2.15. Using Negation in Policy Rules
- 14.2.16. Tagging Packets
- 14.2.17. Adding IPv6 Rules to a Policy
- 14.2.18. Using Mixed IPv4+IPv6 Rule Sets to Simplify Adoption of IPv6
- 14.2.19. Running Multiple Services on the Same Machine on Different Virtual Addresses and Different Ports
- 14.2.20. Using a Firewall as the DHCP and DNS Server for the Local Net
- 14.2.21. Controlling Outgoing Connections from the Firewall
- 14.2.22. Branching rules
- 14.2.23. Using branch rule set with external script that adds rules "on the fly" to prevent ssh scanning attacks
- 14.2.24. A Different Method for Preventing SSH Scanning Attacks: Using a Custom Service Object with the iptables Module "recent"
- 14.2.25. Using an Address Table Object to Block Access from Large Lists of IP Addresses
- 14.3. Examples of NAT Rules
- 14.4. Examples of cluster configurations
- 14.4.1. Web server cluster running Linux or OpenBSD
- 14.4.2. Linux Cluster Using VRRPd
- 14.4.3. Linux Cluster Using a Heartbeat
- 14.4.4. Linux cluster with OpenVPN tunnel interfaces
- 14.4.5. Linux Cluster Using Heartbeat and VLAN Interfaces
- 14.4.6. Linux cluster using heartbeat running over dedicated interface
- 14.4.7. State synchronization with conntrackd in Linux cluster
- 14.4.8. OpenBSD cluster
- 14.4.9. PIX cluster
- 14.5. Examples of Traffic Shaping
- 14.6. Useful Tricks
The solutions to many security and firewall issues aren't always obvious. This chapter provides cookbook-like examples.
When a firewall object is created from a template, its IP addresses might not match the addresses used in your network. This section demonstrates how these addresses can be changed.
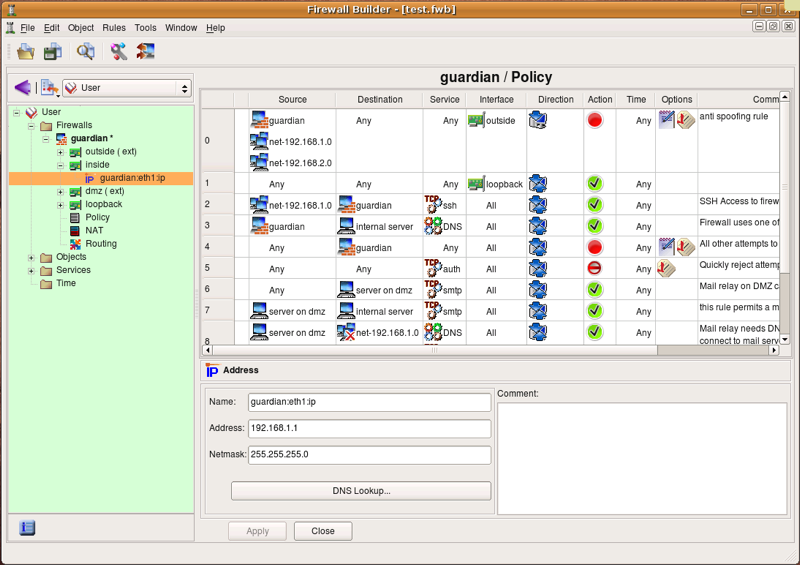
We start with a firewall object created in with a three-interface template and the IP address used for the internal network is 192.168.1.0/255.255.255.0. Suppose we need to change it to 172.16.22.0/255.255.255.0. We need to change the IP address of the internal interface of the firewall, as well as the address used in the policy and NAT rules.
To begin, find the IP address of the internal interface of the firewall in the tree and double-click it to open it in the editor.
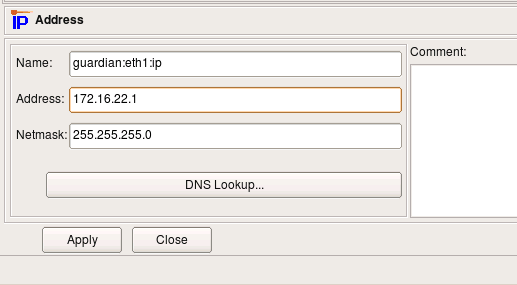
Edit the IP address (and possibly the netmask if needed), then click "Apply". This changes the IP address of the interface of the firewall.
Now we need to change the IP address used in the rules. To do this, we create a new network object with the correct address and replace the object net-192.168.1.0 in all rules with this new network object.
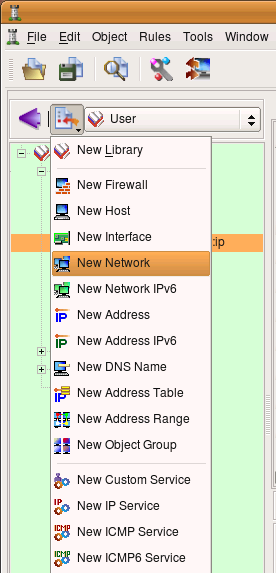
Use menu to create the network object.
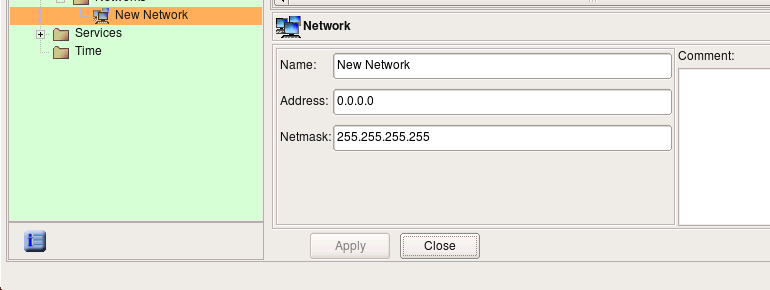
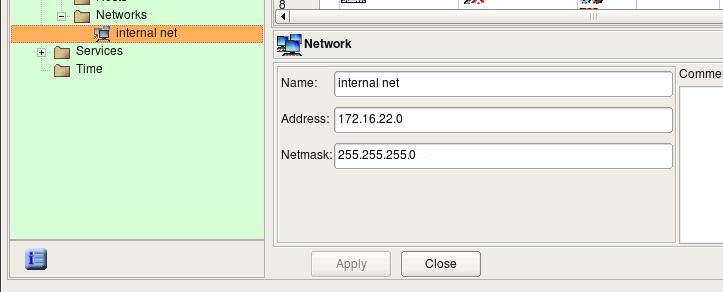
A new network object is created with default name "New Network" and IP address 0.0.0.0.
Edit the object name and address, then click .
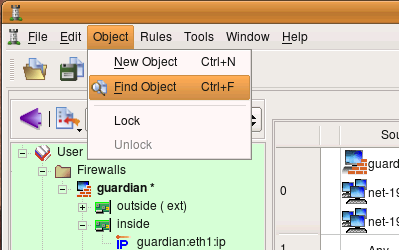
Select to activate the search and replace dialog.
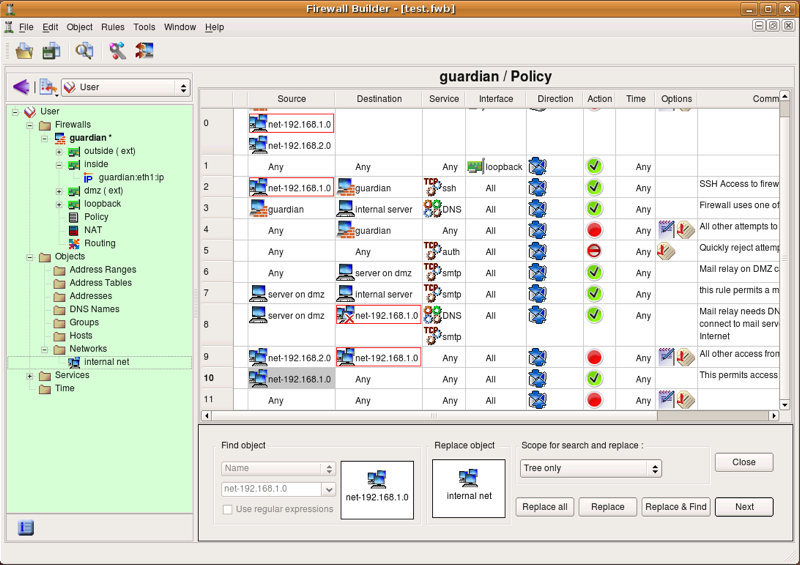
Drag and drop the object "net-192.168.1.0" from a policy rule or from its location in the "Standard" library to the left object field in the search and replace dialog.
Locate the new network object you just created and drag and drop it to the right object field in the search and replace dialog.
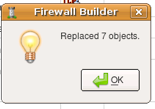
Change the scope to and click . If you have many firewalls in the tree and you only want to replace in this one, use the scope instead. A pop-up dialog appears telling you how many replacements have been done.
Note how the search and replace function replaced the object "net-192.168.1.0" with "internal net" in the NAT rules as well.
If the IP address used for the DMZ network in this template does not match your configuration, you can change it using the same procedure.
Copyright © 2000-2012 NetCitadel, Inc. All rights reserved.
Using free CSS Templates.

